4 Projects
Explore: The first steps with a new pattern (e.g., get info you need, take stock, smell checks).
Understand: Learning anything can involve asking questions (what kinds? How to actually translate to code? Interpreting outputs personally, may lead to more exploration).
Explain: How do we take the answers and rationalize with the investigations? That’s covered in this pattern. How to document to oneself, programmatic text for resilient reporting. This is really about talking to yourself, in a way.
Share: Communication and collaboration. We’ll show you ways you can make everything presentable and create outputs in a format that allows for easy consumption and feedback. An example: reordering plots or tables to make them easier to interpret.
One of the hardest things about starting anything new is knowing where to start. So we will make this easy. Our first pattern is the New Project pattern.
In this book, we want to help you cultivate healthy project habits. This includes knowing proper project hygiene, but it starts with having a small-‘p’ project mindset.
What does that mean? It means that you acknowledge and appreciate that a project is just a place on your computer to put things. To paraphrase a famous Dr. Seuss quote from “Horton Hears a Who”:
“A project is a project, no matter how small.”
Say it with us: A project is a project, no matter how small.
A project doesn’t have to be a capital-‘P’ Project. You don’t need an objective, a hypothesis, or even a plan (yet). It can be as simple as consisting of a single Excel file with a handful of rows and columns.
For the person tasked with doing anything with that file, you have a choice when you start:
- You could choose to fanny around with some files on your desktop, maybe adding some formulas or formatting to your Excel file, perhaps saving some of your work along the way.
- Instead, we suggest (or rather implore) you to mentally and functionally start a project.
How do you choose option 2? Read on.
4.1 Explore
Imagine you are a researcher doing field work at the Palmer Station in Antarctica. You’ve been meticulously taking size measurements of three species of adult foraging penguins under pretty precarious circumstances. It’s been a lot of hard work, but it shows when you analyze all the data you’ve collected. This project is your chance to share your work with your colleagues in the Long-term Ecological Research Network.
To explore this New Project pattern, we need to explore our actual computer and where the project files should live.
In a nutshell, even the smallest of small projects gets its own folder (remember: “a project is a project, no matter how small!”). We recommend setting yourself up for success by having a dedicated folder on your computer to store all your projects.
Do this right now:
Create a folder on your computer - put it in a place where you will remember to look for it.
That is it!
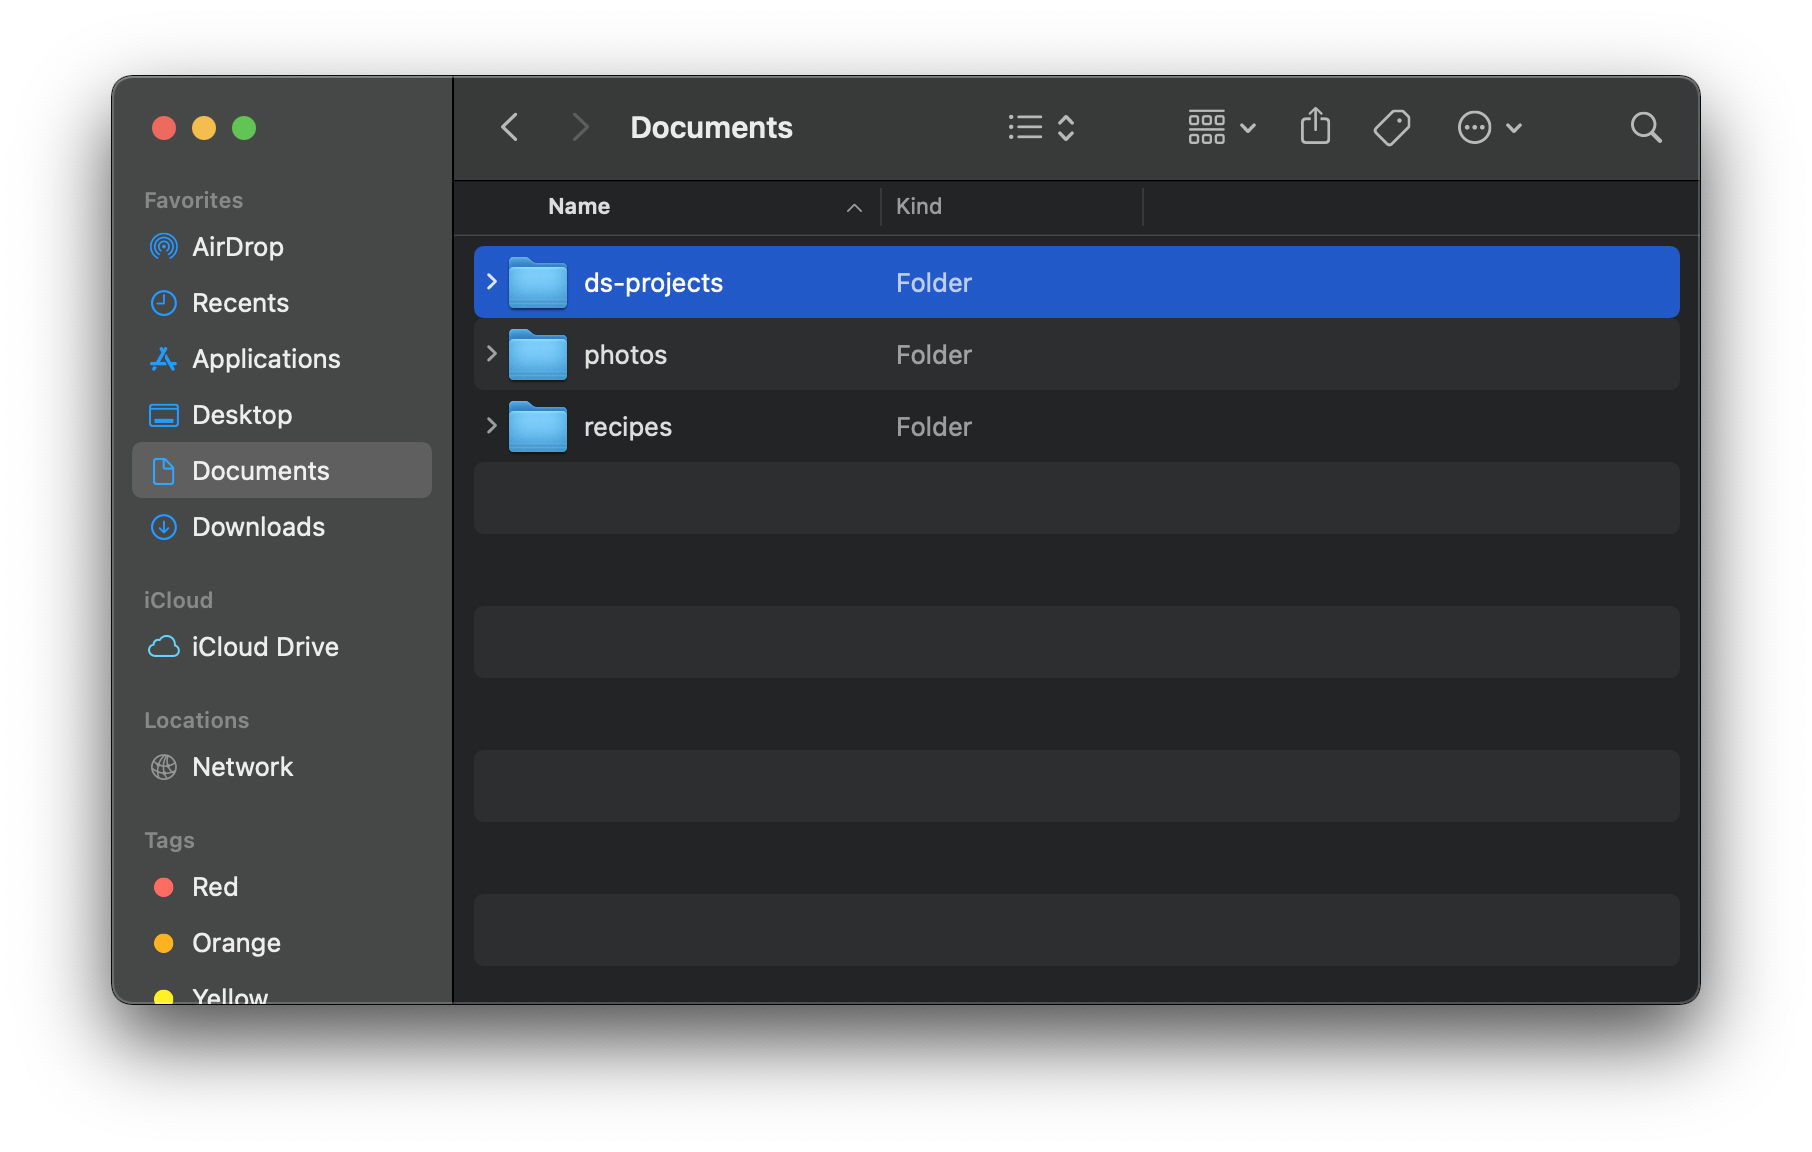
Oddly enough, the last part of that step can be the hardest. We recommend creating a folder called ds-projects. Then, make a project-specific folder inside that one. Let’s break this down.
Create a personal
Documentsfolder, if you don’t already have one. Use this folder as a container for other folders.Add a folder inside the
Documentsfolder and name itds-projects.
Now, you’ll use this folder to hold all your future data science projects. Right? Right. It will look something like this:
Here is a visual “file tree”, if Dr. Seuss had three ds-projects to keep track of:
Documents/
├── ds-projects/
│   └── horton/
│   └── grinch/
│   └── lorax/
├── photos/
└── recipes/
Obsessing about naming and organizing (and renaming and reorganizing) files/folders on your computer is an affliction we will call “project puttering.” Puttering is defined as “to move or go in a specified manner with ineffective action or little energy or purpose.”
Although naming and organizing files is important, it can often be a way to fuss and faff about with files to feel busy, without really doing all that much. Having a “new project” pattern can help you ward off project puttering.
You may still be saying “But Alison and Rich, this does not qualify as a Project - I know I’ll never need this file again.”
We believe you that you truly believe this, and believe us, we have both been in this same situation. Nine times out of ten though, dear reader, we have lived to regret those words. Nonetheless, we do offer an alternative recommendation.
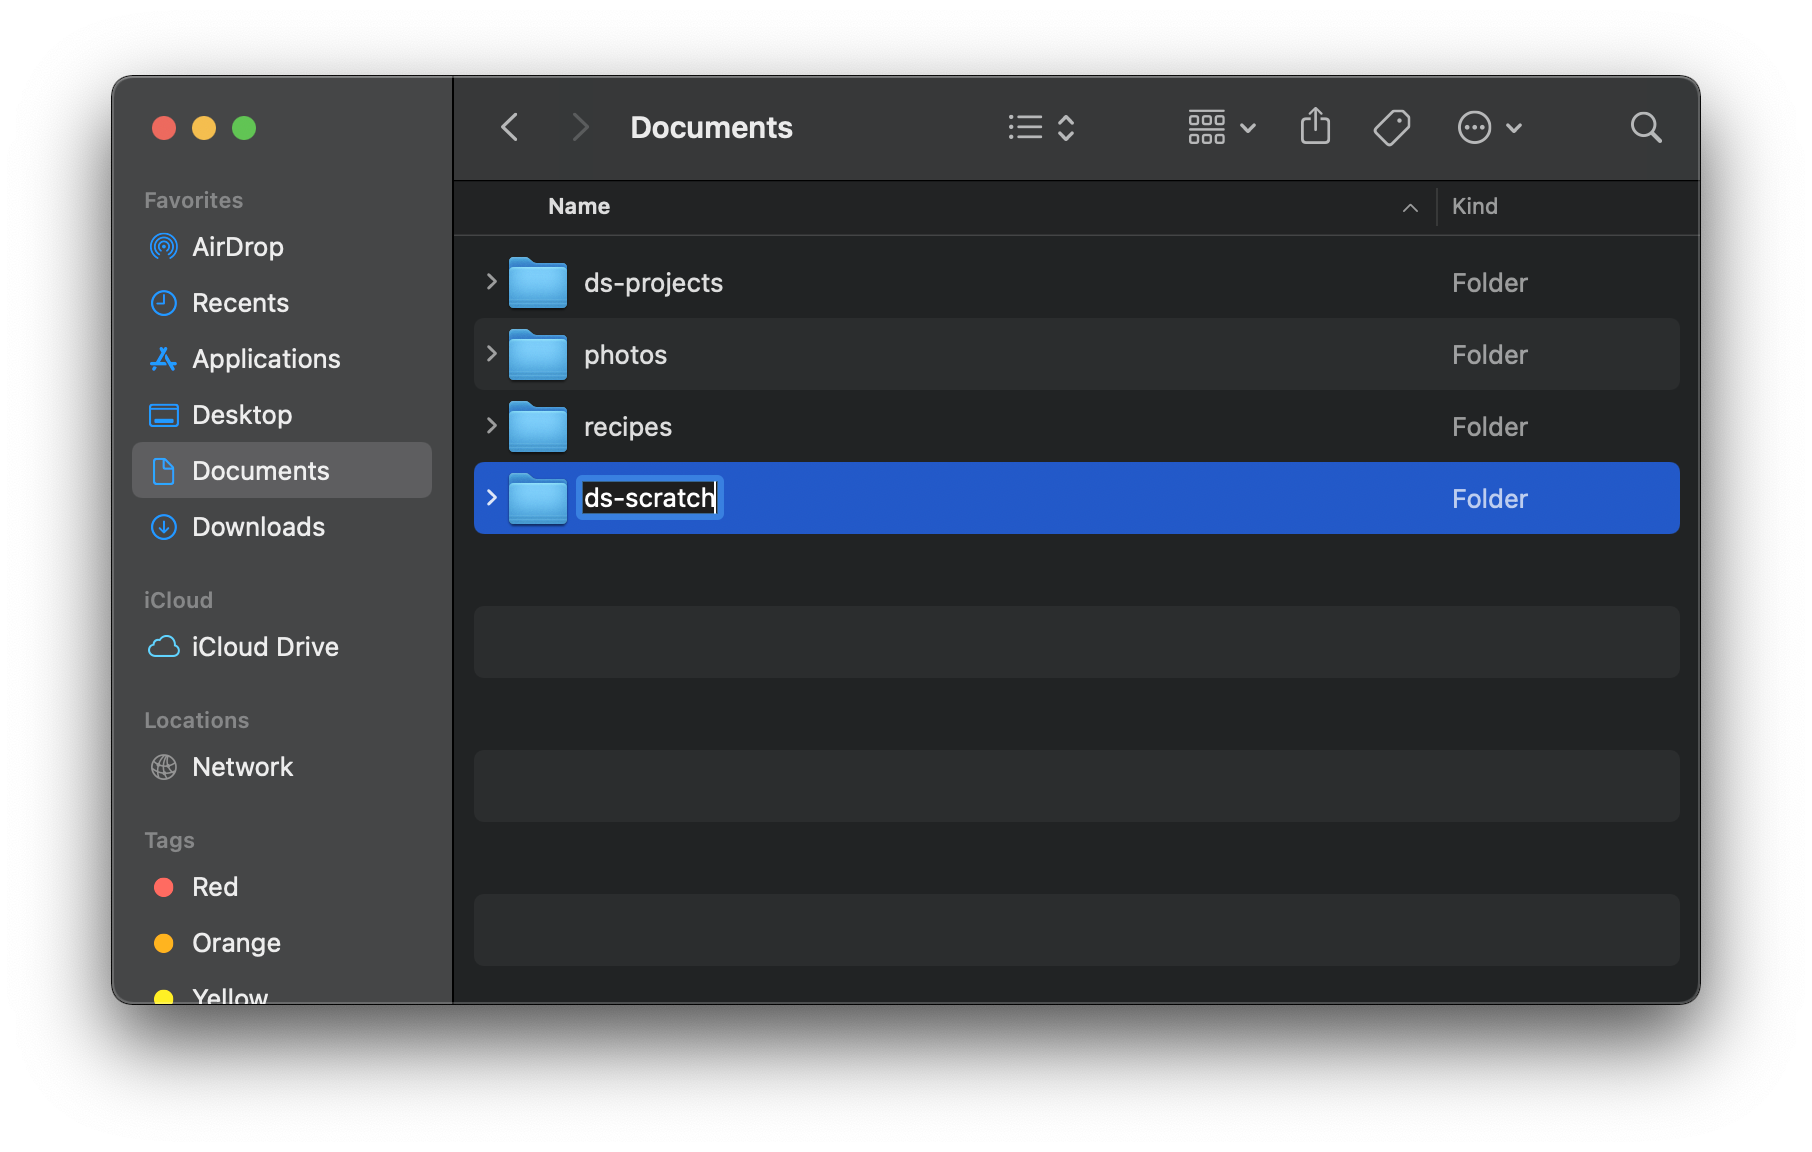
When you earnestly believe that you’ll not need this particular project ever again, if it makes you feel better, you can create a folder called ds-scratch and put your project files in there. I do this locally and every month or so, I clear this folder out.
There is a famous saying: “If you love something, set it free. If it comes back, it’s yours. If not, it was never meant to be.” This is how you can think of projects in your scratchpad. If you need to open that folder back up before it gets trashed, it graduates to ds-projects. Graduating just involves physically dragging and dropping the project folder from ds-scratch into ds-projects. This works if and only if you set up your projects right (i.e., which we will show you in this chapter).
It looks like this:
Now that we have a place to put our project things, let’s create our first project. Do the following:
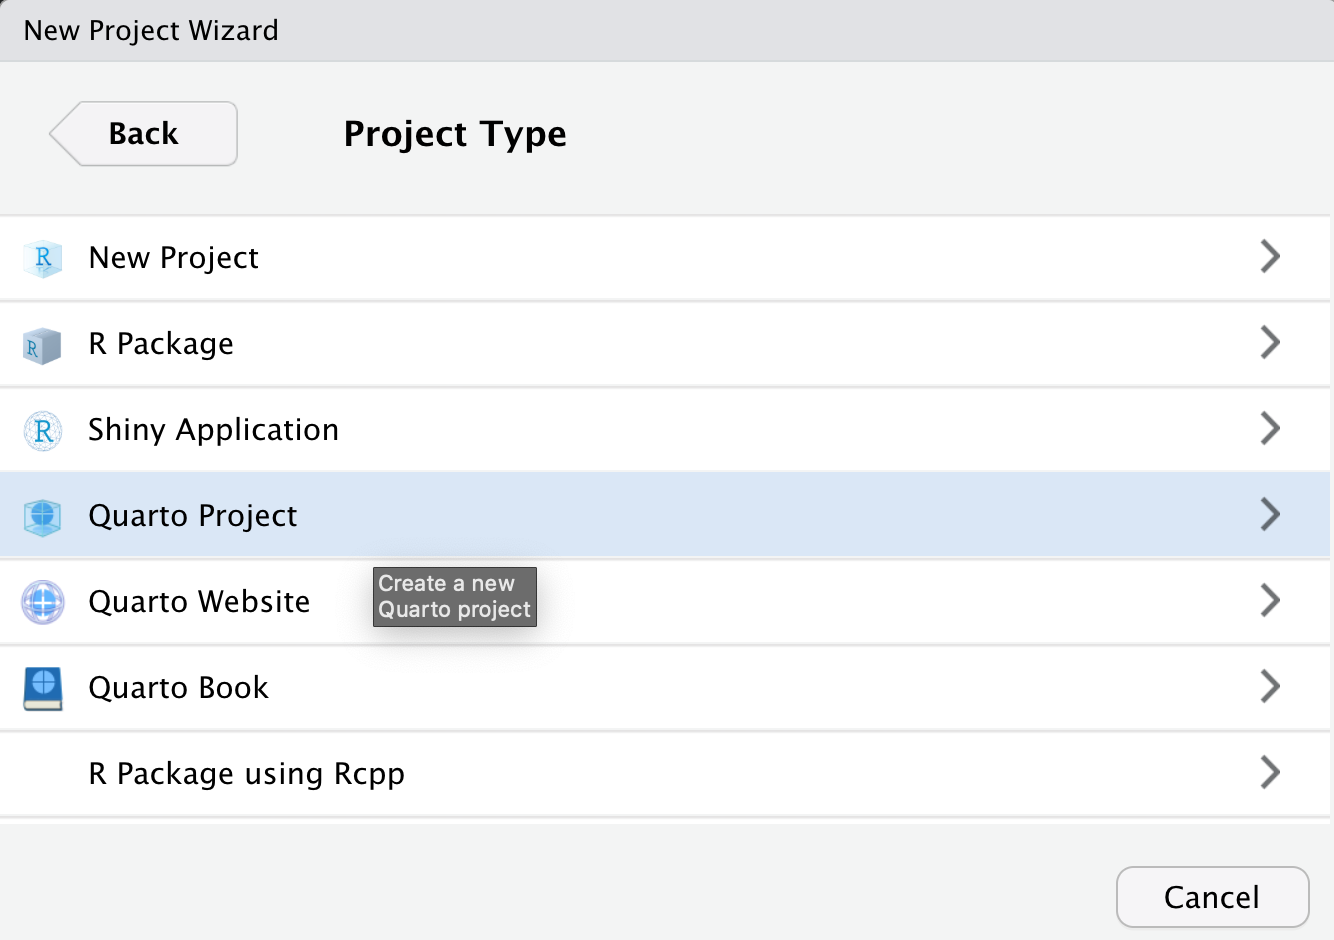
- Open up RStudio
- In the top menu bar, go to: File > New Project… > New Directory
- In the “New Project Wizard”, select “Quarto Project” as the project type.
- We’ll be creating a penguin progress report as an example, so name the directory
penguin-progress. - Make sure it is a subdirectory of your
ds-projectsfolder (remember the task was to put it in a place where you will remember to look for it!) - Check the boxes to make this project a git repository and to open in a new session.
- Click Create Project 🚀

This step should create a “batteries included” project inside your ds-projects folder that has this file structure:
Documents/
├── ds-projects/
│   └── penguin-progress/
│   │   ├── _quarto.yml
│   │   ├── penguin-progress.Rproj
│   │   └── penguin-progress.qmd
├── photos/
└── recipes/
All three files are important ingredients for our project.
_quarto.ymlis a configuration file for Quarto, a software system built for open-source scientific and technical publishing. This file will come in more handy when your projects grow, but for now, know that Quarto has a definition of “project” that works for us now, and will keep working for us later.penguin-progress.Rprojis a configuration file for RStudio. You never need to open or edit this file, but when you want to open an existing project, you’ll want to double-click on the*.Rprojfile to open the project in RStudio properly.penguin-progress.qmdis a Quarto markdown file. This is the main file you’ll want to open and edit in this project. You can include narrative text using Markdown formatting, and you can also include code written with R or Python. We’ll use R in this book.
A note on kebab-case: you may have noticed that we encourage you to use dashes as separators between words. Kebab-case, also known as hyphen-case, uses hyphens ("-") to separate words in a filename. This naming convention improves readability and clarity by clearly indicating word boundaries. It makes filenames easier to read, especially when the filenames contain multiple words. For example, "my-important-analysis.qmd" is more readable than "myimportantanalysis.qmd" or even "MyImportantAnalysis.qmd".
4.2 Understand
There are a few key takeaways we’ll summarize here. Here we go:
A project is a project, no matter how small.
Store all your projects inside a dedicated folder. We like
Documents/ds-projectsto start (but also give you permission to set upDocuments/ds-scratchfor projects you think you’ll scrap).Each project gets a folder in a place on your computer where you will remember to look for it.
Use kebab-case when naming files and folders like
penguin-progress, which is a style that replaces spaces with dashes. Try to avoid punctuation, special characters like underscores, and uppercase letters if possible - this will simplify your project life.
Start a new “batteries included” Quarto project using the RStudio New Project Wizard (through File > New Project…). Be intentional about creating new projects inside the right subdirectory (we like ds-projects to start, but you may create more elaborate subdirectory structures as you gain experience).
4.3 Explain
Your project is unique. Of course! But it does not need to be unique in terms of its file structure. The file structure you set up for yourself helps you understand the shape of your project.
Having a “new project” pattern with a defined file structure has several benefits:
It helps others to be able to jump into your project more easily. When multiple team members are working on the same project, a standardized file structure ensures that everyone knows where to find specific files and how to access them. It enables reproducibility by providing a clear path for replicating analyses, experiments, and results.
It helps you jump back into your project more easily. It’s so much easier for you to navigate through the project, locate specific files, and understand the project’s overall structure. By following a consistent file structure, it becomes simpler to find relevant data, code, documentation, and other project components. And, this saves a lot of time and effort.
It helps you switch between your own projects more easily. Especially when using RStudio, as the project selection dropdown (top-right of IDE) makes switching a cinch.
Here is a healthy file structure to help you understand a data science project:
How to organize a project folder to help you understand the shape of your project
have a place for raw data
have a separate place where cleaned data goes
name each file clearly (e.g., `…-raw.csv`)
on naming incoming files from collaborators: some files can strange names; rename them sensibility (with ISO-formatted dates and some words that indicate provenance)
Documents/
├── ds-projects/
│   └── penguin-progress/
│   │   ├── _quarto.yml
│   │   ├── penguin-progress.Rproj
│   │   ├── penguin-progress.qmd
│   │   ├── data-raw/
│   │   ├── data-clean/
│   │   └── README.md
├── photos/
└── recipes/
An Important Setting to Make in RStudio
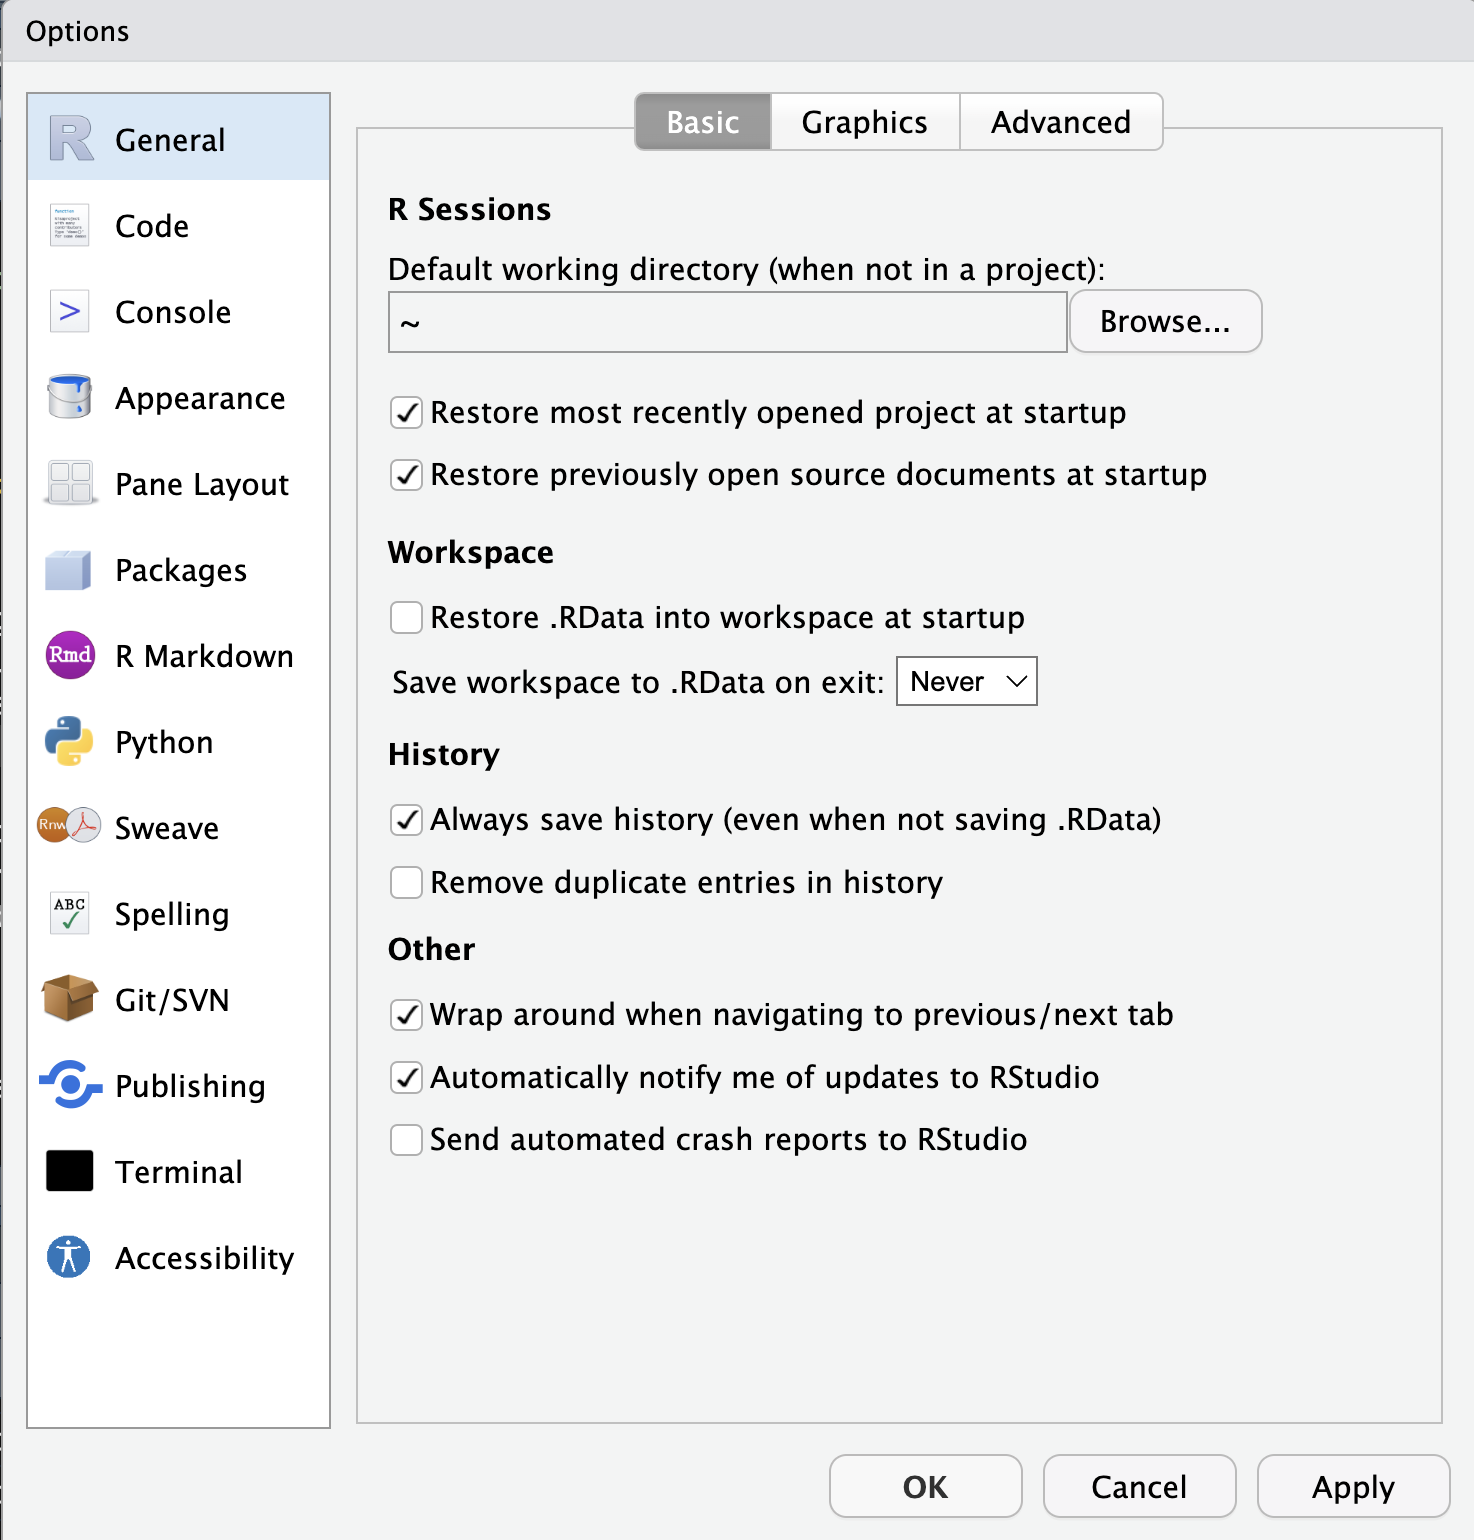
There’s a thing where, upon quitting R, R/RStudio will ask you this:
Save workspace image to ~/.Rdata?What this is asking to do is to save the contents of your entire workspace to that file (the ~ means your home directory); this is so that the next time you use R, that workspace is loaded in for you.
It’s best to go in a different direction entirely and say ‘No’ here. And, we should take another preventative step: disable the default RStudio settings that (1) prompt this question and (2) reload any saved workspace. The specific settings are located in Tools > Global Options. Once there the checkbox next to Restore .RData into workspace at startup should be unchecked. And the drop-down is next to the Save workspace to .RData on exit text should be set to Never Here’s a screenshot with the revised settings:
 You might ask, why disable what seems like a useful feature? Well, in practice you are saving
 .R files and .qmd files and so it follows that your project environment can be recreating by running the contents of those files. Put another way, the source of truth should be what’s in files of the project directory and not whatever is in the ~/.Rdata file (which could be many things not in your .R and .qmd files).
An Important Thing to Do When Developing Code
Sometimes you’ll run bits of code in a sequence different than what’s written in the script. I’m sure you’ve come across the issue where the variable you assigned is different than how it’s assigned in the script (for lots of reasons, developing code can be chaotic). But the goal eventually is to get a re-runnable, reproducible .R/.qmd file you might share or run later. The important thing to do is to restart R often, clearing the environment completely and re-running the script or .qmd. This is done through the RStudio menu item Session > Restart R. Do it often to reset things and ensure what’s in the .R//.qmd really is the source of truth.